
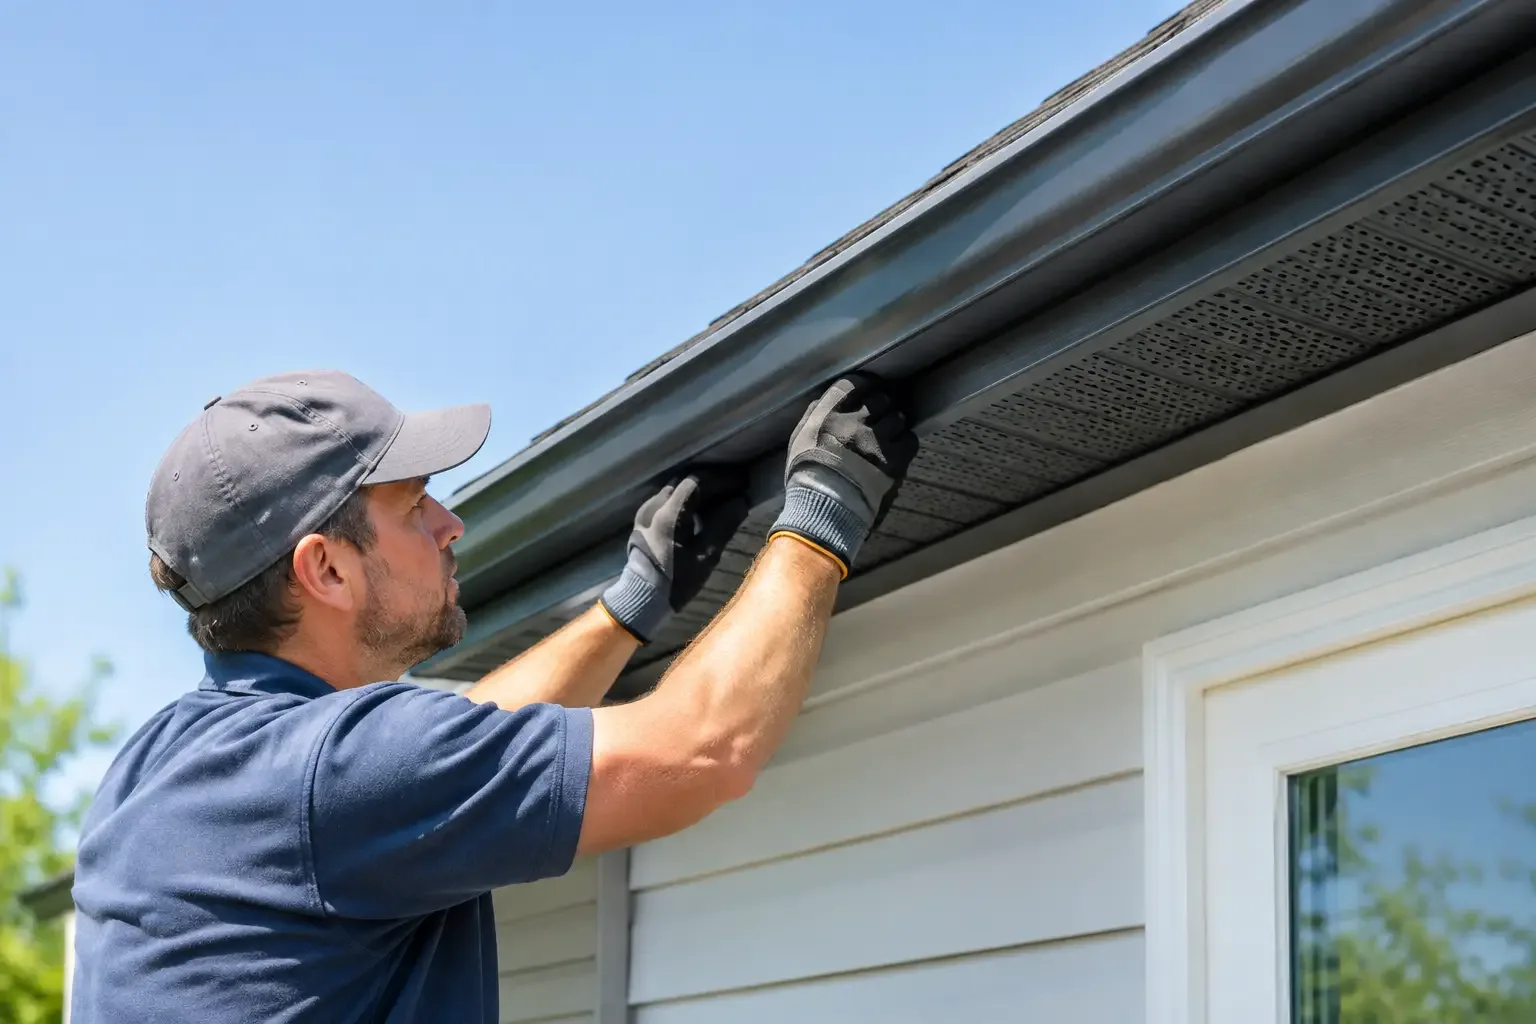
A beautiful roofline lighting system should make people notice your home, not the hardware that powers it. That is why learning how to conceal eave wiring starts well before an installer climbs a ladder. The best results come from planning the light track, power source, controller, and wire paths as one coordinated design - so the home looks clean by day and unforgettable by night.
For permanent exterior lighting, hidden wiring is not an afterthought. It is part of what separates a refined architectural upgrade from a string of lights that happens to stay up all year.
Start with the roofline, not the wire
Every home has a different combination of fascia, soffit, gutters, gables, brick, siding, and trim transitions. A wiring plan that works beautifully on a newer two-story home in Highlands Ranch may be far less discreet on a brick ranch in Lakewood. The goal is not to force every wire into the same route. It is to find the route that is least visible, most protected, and easiest to service if needed.
For most permanent lighting projects, the lighting track is mounted beneath the fascia or along another discreet trim surface. This placement hides the lights from normal street-level viewing while allowing them to cast color and warm-white light across the home. Wiring is then routed behind, above, or within the track wherever possible rather than draped along the face of the house.
A thoughtful installer studies the roofline from several angles before choosing a path. What disappears from the driveway may still be visible from a side yard or a neighboring street. Looking at the home in daylight is essential because daytime appearance is where concealed wiring earns its value.
How to conceal eave wiring without compromising service
The cleanest path is not always the path that should be permanently sealed away. Exterior lighting systems need protected connections, accessible controllers, and a practical way to inspect or service components in the future. Concealment should never mean burying a problem behind trim.
In many installations, low-voltage wire can be tucked behind the lighting track and secured under the eave, following the same visual line as the trim. At corners, wires may pass through small, carefully placed openings or transition behind a return so the cable is not visible across the fascia. On longer rooflines, the system can be designed in zones to reduce the need for obvious runs traveling across highly visible areas.
The controller location matters just as much. A controller is often placed in a garage, utility area, attic space when appropriate, or another protected location close enough to support clean wire routing. It should be reachable for initial setup and future service, but it does not need to occupy a prominent exterior wall. From there, wiring can enter the eave in a planned location rather than crossing exposed siding to reach the roofline.
There is a trade-off here. Routing wire through an attic or wall cavity can create an exceptionally clean finish, but it may require more labor and depends on the home’s construction, access, insulation, and electrical layout. A visible route tucked beneath a deep soffit may be the smarter option if it is protected and nearly impossible to see from normal viewing distances. Good design is about choosing the right solution for the house, not pursuing hidden wiring at any cost.
Use trim lines as visual cover
Exterior architecture already provides natural places to hide wire. Fascia boards, soffit returns, gutter lines, window trim, and vertical corners can all reduce visibility when used carefully. The most polished installations let the wiring follow existing lines rather than creating a new line across the home.
Color matching also helps. A cable or channel that coordinates with the underside of the eave is much less noticeable than a contrasting wire fastened across painted trim. This is especially important on light-colored soffits, where even a slim dark cable can draw the eye during the day.
Fastening details deserve the same attention. Loose cable loops, oversized clips, and inconsistent spacing can make a quality lighting system look improvised. Wires should be supported at appropriate intervals, held close to the mounting surface, and routed with gentle turns rather than sharp bends. The result is a finished look that feels like it belongs to the home.
Protect connections from weather and movement
Concealed does not automatically mean protected. Eaves offer meaningful shelter from direct rain and snow, but Colorado homes still experience wind-driven moisture, temperature swings, sun exposure, and winter ice. Connections and wire penetrations need to be selected and placed with those conditions in mind.
Outdoor-rated components, properly protected connectors, and secure mounting help preserve both performance and appearance. Where wiring enters a wall, soffit, or enclosed space, the opening should be made deliberately and sealed appropriately. The purpose is not simply to hide the entry point. It is to help prevent water intrusion, pests, and premature wear.
Avoid routing wire where gutters overflow, where downspouts discharge, or where ice can build up along the roof edge. These areas may seem convenient during installation, but they create needless exposure over time. A slightly longer route under a protected soffit is often a better long-term decision.
It also helps to avoid placing connections at the lowest point of a wire run, where moisture could collect. Small details like routing direction, drip loops, and connection placement can make a difference in an exterior system that is expected to stay in place year after year.
Plan for power before installation day
A clean roofline begins with a realistic power plan. Permanent exterior lighting is typically low voltage at the roofline, but the power supply and controller still need a suitable, protected electrical source. Homeowners should not assume that the nearest exterior outlet is automatically the best choice.
During a consultation, the installer should evaluate where power is available, where the controller can live, and how the wiring can travel from that point to each lighting zone. A front-facing outlet may be convenient, for example, but a garage-based controller with an interior route to the eave can produce a much cleaner daytime result.
Some homes need a different approach because of finished ceilings, inaccessible attic areas, detached garages, or multiple roof sections. These conditions do not rule out a concealed installation. They simply affect the route, installation time, and proposal. Clear planning upfront prevents surprises after the track is already installed.
Know when to avoid a DIY wire route
Homeowners can often identify obvious visual concerns before a project begins: a prominent gable, a highly visible side elevation, or an outlet that would leave a cable exposed. But permanent roofline lighting also involves ladder work, exterior penetrations, weather-rated components, and electrical considerations. That is not the place to guess.
A professional installation team can assess where wiring can be hidden without damaging trim, interfering with ventilation, or creating an awkward service issue later. They can also tailor track placement to the roofline instead of relying on a one-size-fits-all pattern. For Firefly Exterior Lighting projects, that planning is part of the design process, alongside visualizing the home, defining lighting zones, and selecting controller placement.
The finished system should feel simple to own. Once the hardware is discreetly installed, homeowners can use the app to set warm-white lighting for an ordinary evening, create a holiday scene, adjust brightness, schedule timers, or light only selected sections of the home. The technology stays useful, while the wiring stays out of sight.
Questions to ask before approving a lighting plan
Before installation, ask where the controller will be located, how power will reach the roofline, and where any visible wire segments may appear. Ask to see the proposed route around corners, gables, and transitions between roof sections. These questions are practical, not picky. They help ensure the daytime finish receives the same consideration as the nighttime lighting effect.
You should also ask how future service would be handled. A well-concealed system should still allow qualified technicians to reach important components without removing large sections of trim or disturbing the entire roofline. The answer may vary by home, but the plan should be clear before work begins.
The best concealed wiring is rarely the part of a project anyone talks about afterward. It simply lets the roofline look intentional in sunlight and spectacular after dark - exactly as a permanent lighting upgrade should.